Authentication Auth2.0 - Implicit Auth
⚙️ Setup Steps
Purpose:
The Implicit Grant Type is designed mainly for browser-based or single-page apps (SPAs) where tokens are issued directly without a backend server exchanging an authorization code. It’s less secure because tokens are exposed in the URL and no refresh tokens are issued.

Step 1 — Configure Fields (optional)
Add extra fields only if needed.
👉 Example:
Environment (sandbox / production)
Region
💡 Keep it minimal — users shouldn’t fill unnecessary inputs
Step 2 — Copy Redirect URL
This is where users return after login.
👉 Copy from viaSocket
👉 Paste into your app’s developer settings
⚠️ Must match exactly or login will fail
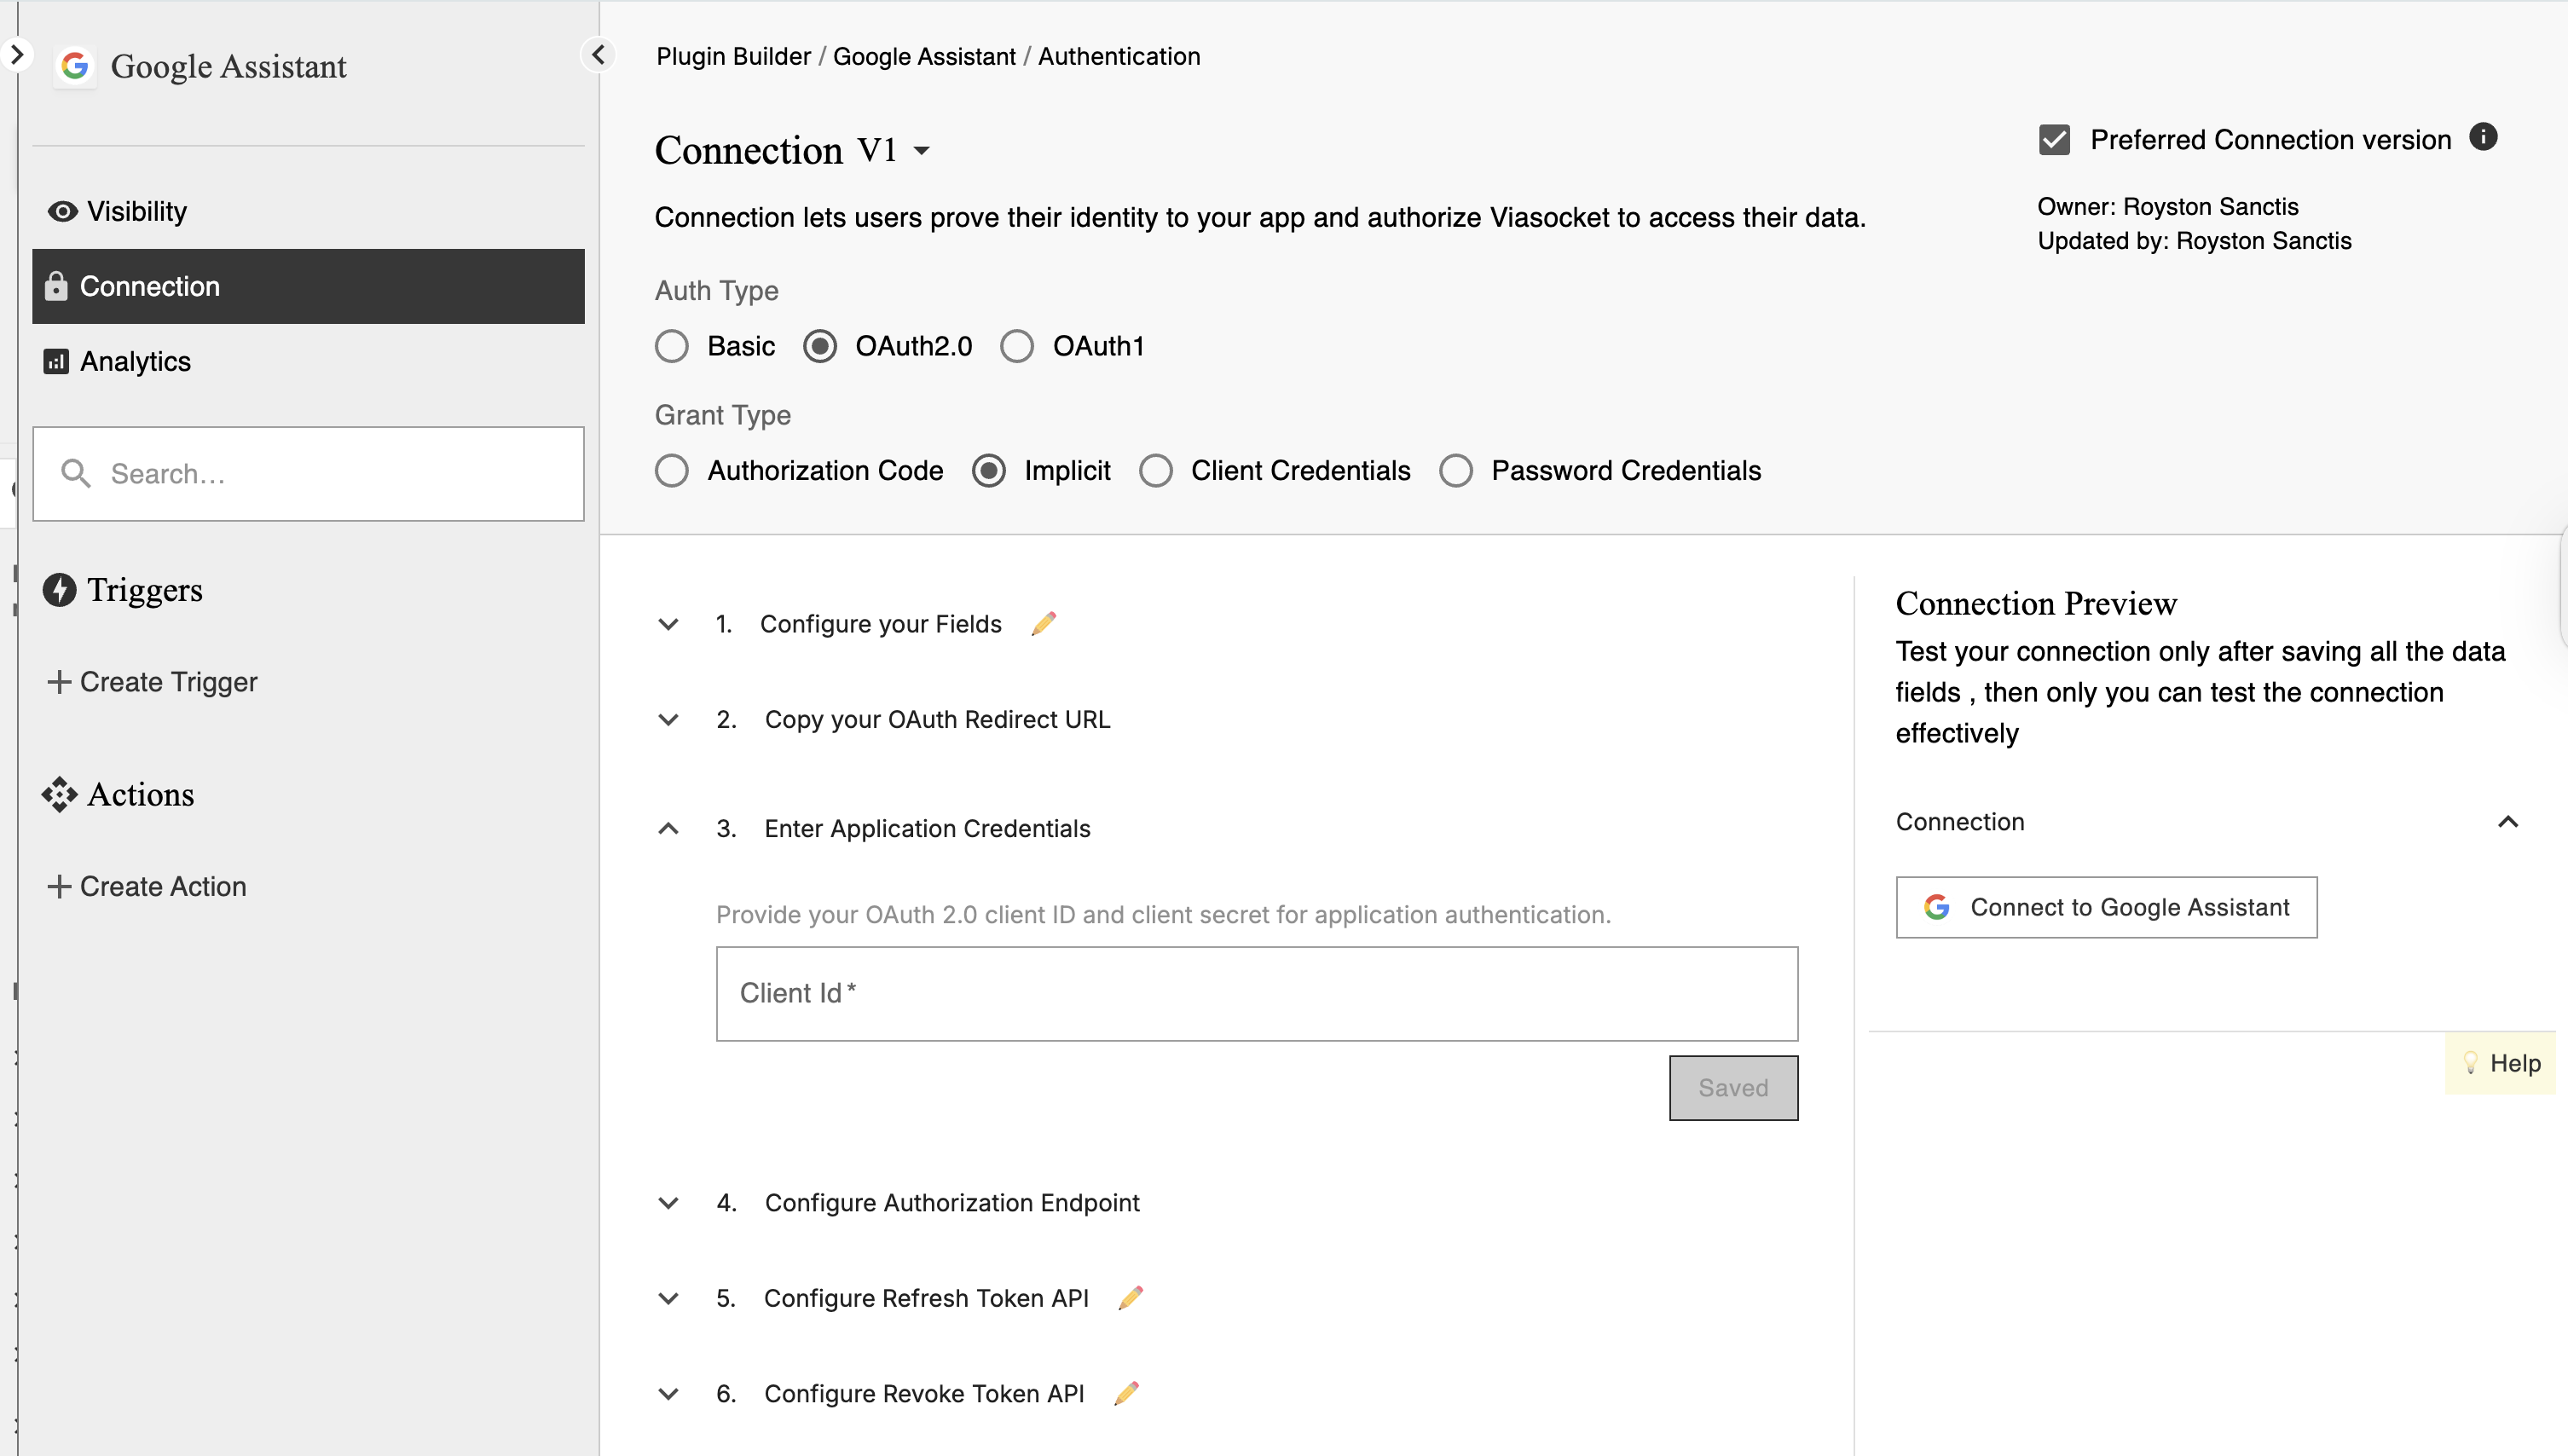
Step 3 — Add App Credentials
Enter:
Client ID → identifies your app
Client Secret → private key (keep it secure)
👉 Get these from the app you are connecting
Step 4 — Add Login URL
This is the login page of the app.
👉 Example:
https://service.com/oauth/authorizeWhat happens:
User clicks Connect
Gets redirected to login
After login, returns to viaSocket
A temporary code is sent
Tip: Always use the
stateparameter to prevent CSRF attacks.
Step 5 — Add Refresh Token URL (optional)
Used when the access token expires
👉 Keeps the connection active
👉 User doesn’t need to log in again
Step 6 — Add Revoke URL (optional)
Used to disconnect users
👉 Stops further API access
Example:
https://service.com/oauth/revoke.
Step 7 — Add Test API
Add a test endpoint to verify the connection.
👉 Example:/me or /profile
This is used to check if credentials are valid
💡 Choose a simple endpoint that always returns data
Step 8 — Add Connection Name
Define how the connection will appear to users.
👉 Example: John’s Account
👉 Use dynamic values like name or email if available
Step 9 — Add Allowed URLs
Add the API base URLs your integration will use.
Only include required domains
Avoid unnecessary URLs
✔ Helps keep your connection secure
💡 Prevents unwanted or unsafe calls
Step 10 — Add Unique Identifier
Used to identify each user connection
👉 Example:
email
account_id
👉 Helps avoid duplicate connections
Step 11 — Set Request Parameters (optional)
Use this to automatically include values in every API request.
What does this do?
It allows you to define default key-value pairs that are added to every request.
You can configure:
Headers
Query Parameters
Body
👉 These values are automatically applied to all requests made through this connection.
Common examples
Header authentication
Authorization: Bearer {{access_token}}API key
api_key: {{api_key}}Static parameter
version: v2When to use this
Same headers are required in every request
You want to avoid repeating authentication logic
Your API needs fixed parameters
When NOT to use this
Values change per request
Different endpoints need different values
⚠️ Don’t add sensitive data here
Extra Best Practices
Security First: Since tokens are visible in browser URLs, always use HTTPS and consider clearing URLs after token retrieval.
Short-Lived Tokens: Expect short token lifetimes — this flow is not designed for long-term sessions.
Consider Alternatives: If possible, use the Authorization Code with PKCE flow for better security in SPAs.
Use Cases:
Single-page applications (SPAs).
Applications with limited backend capabilities.
Security Considerations:
Access token is exposed in the URL fragment, making it susceptible to interception.
Not recommended for applications handling sensitive data.
Considered less secure, its use is being deprecated in favor of Authorization Code with PKCE.