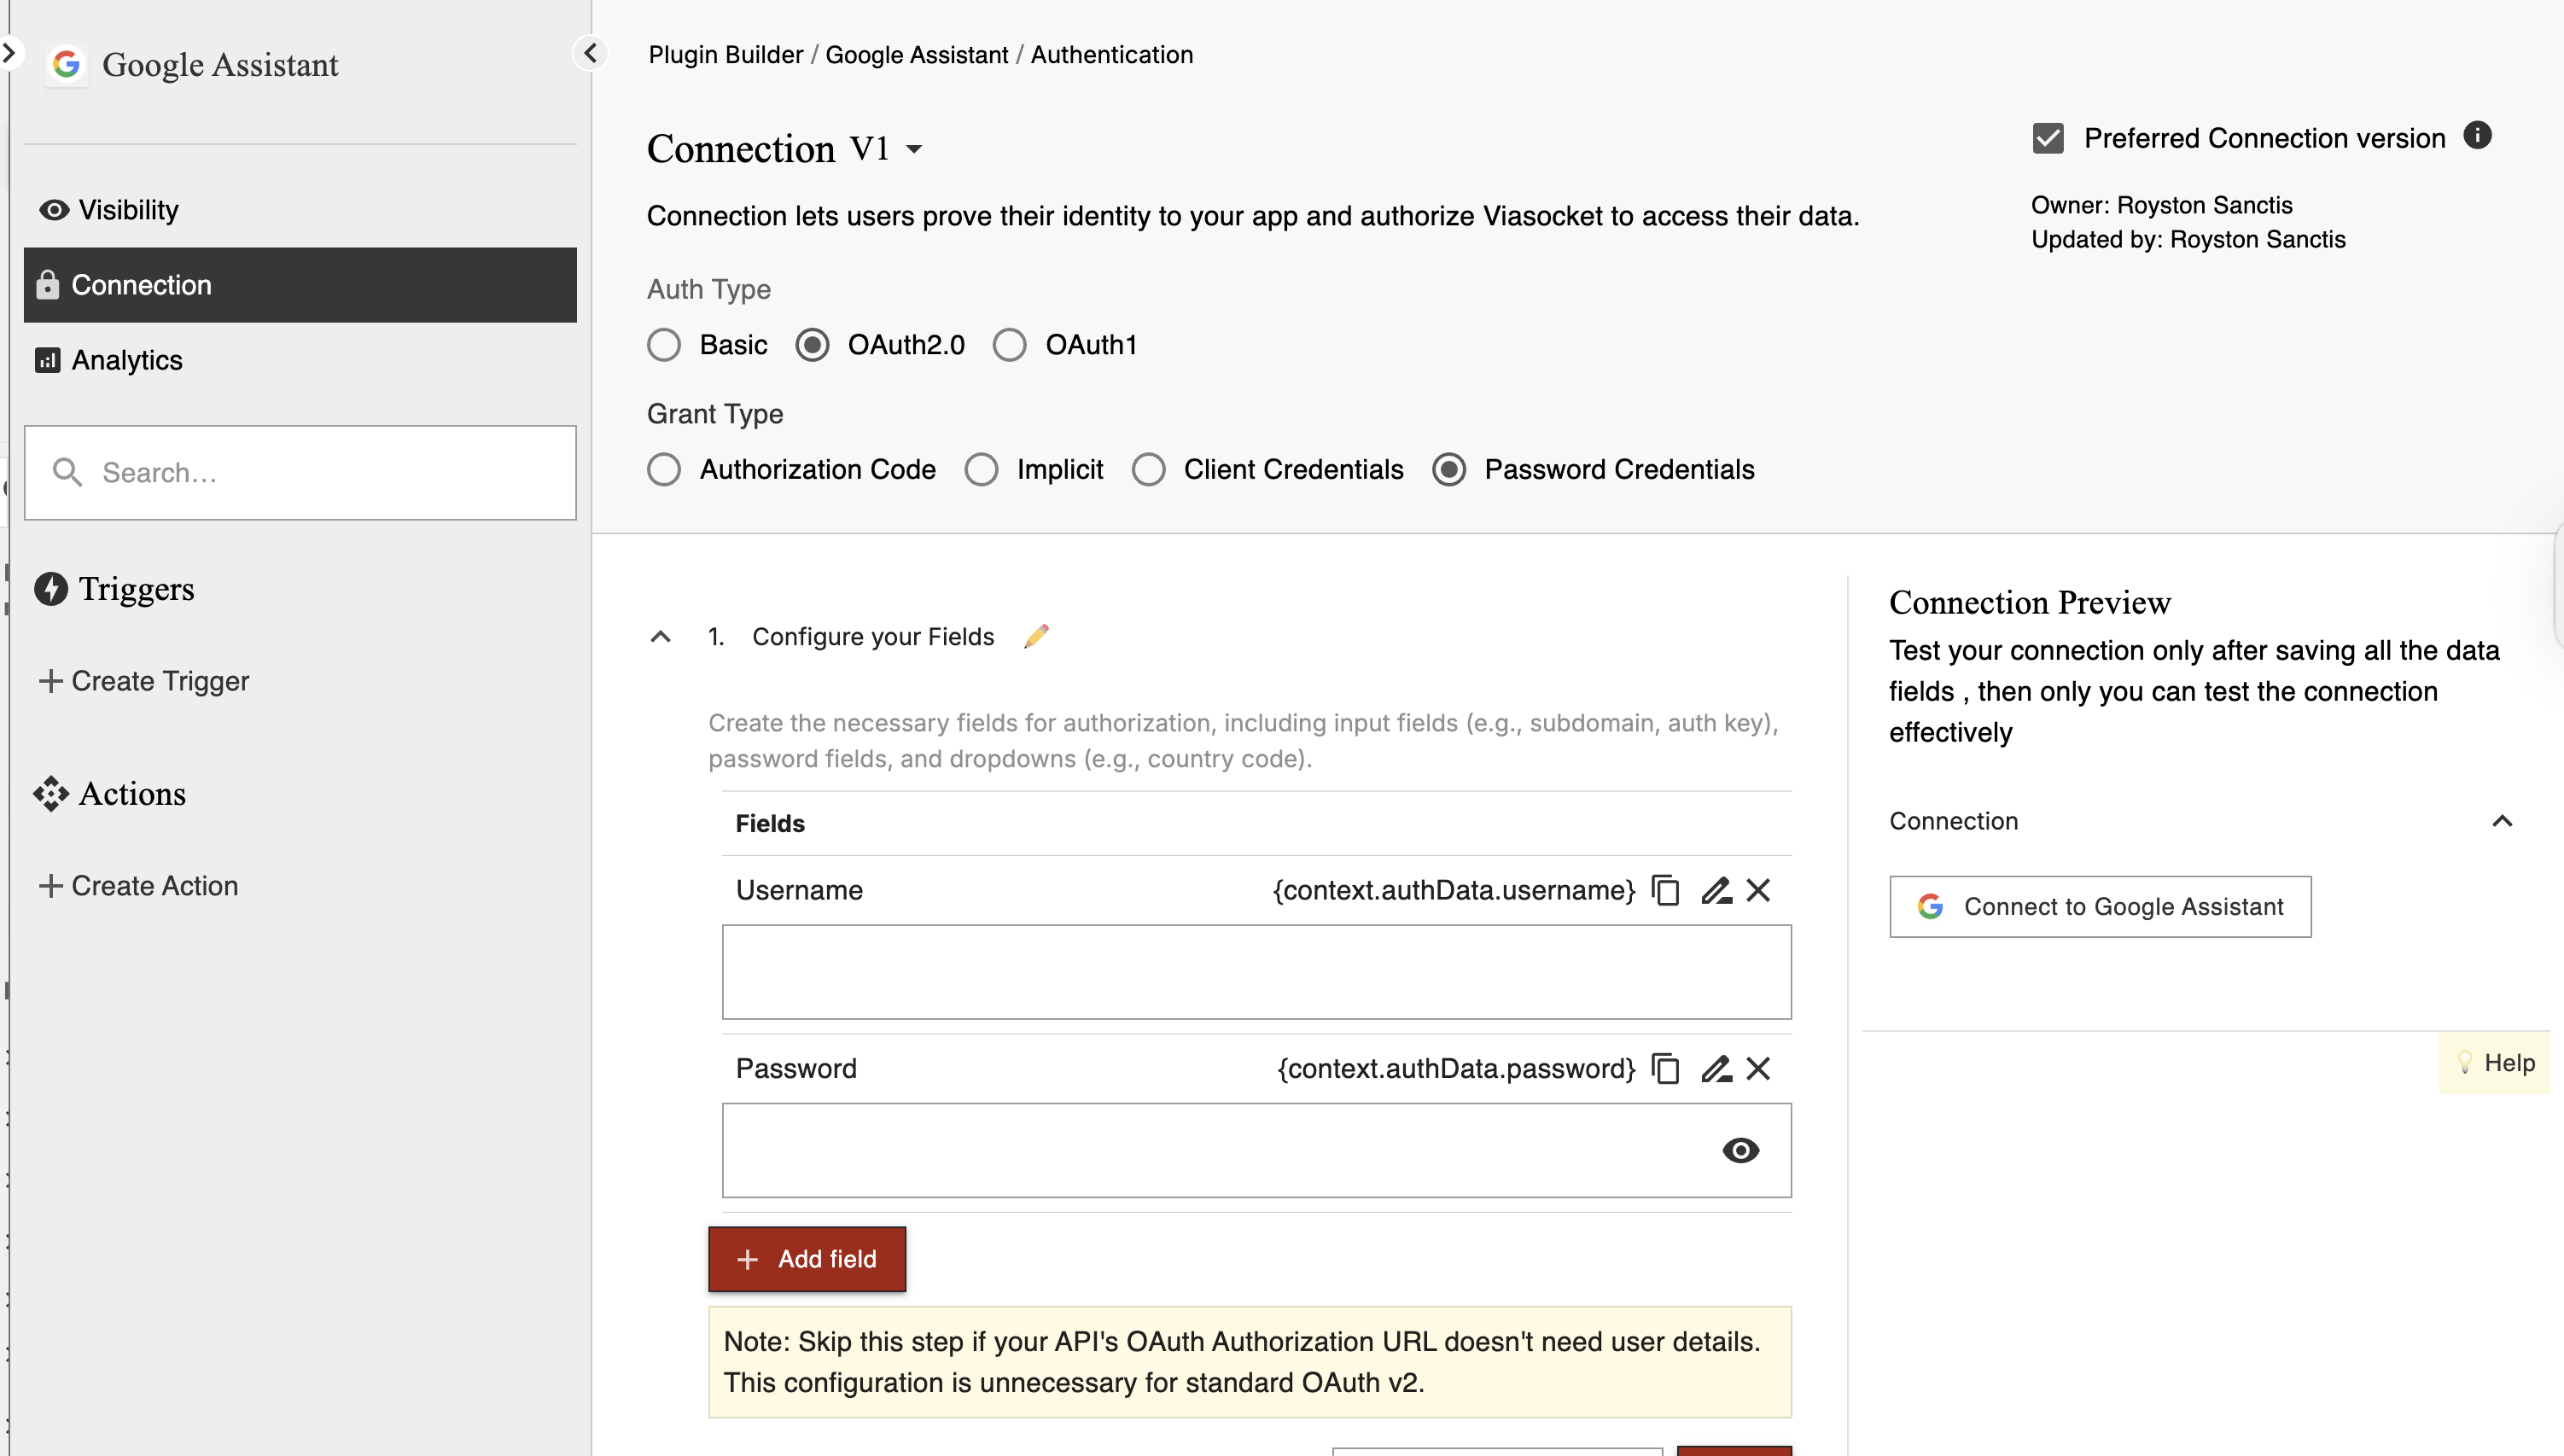
Authentication Auth2.0 - Password Credentials
OAuth 2.0 – Password Credentials Grant Type
Purpose:
Also known as the Resource Owner Password Credentials (ROPC) flow, this grant type allows exchanging a username and password directly for an access token.
It’s generally deprecated for modern apps because it bypasses the provider’s login UI and puts full responsibility for credential handling on your app.
Recommended only for legacy systems or trusted environments.
1. Configure Your Fields
This is where you define the credentials the user must enter.
Always include:
Username – The account username or login email for the service.
Password – The account password; will be sent directly to the provider to exchange for a token.
Optional: Additional fields like API environment (sandbox/production) or optional security tokens (e.g., OTP, tenant ID).
Tip: Make it very clear to users that their credentials are stored securely and only sent to the provider’s authentication endpoint.
2. Configure Access Token API
The endpoint where viaSocket sends the username and password to get an access token.
Example:
https://service.com/oauth/tokenTypical parameters:
grant_type=passwordusernamepasswordclient_id(sometimes required)client_secret(sometimes required)scope(if applicable)
Tip: Always use HTTPS — never send passwords over plain HTTP.
3. Configure Refresh Token API
Allows obtaining a new access token without prompting the user for credentials again.
Recommended if the provider issues refresh tokens for this flow.
Not all services support refresh tokens in ROPC.
4. Configure Revoke Token API
Optional endpoint to invalidate tokens.
Example:
https://service.com/oauth/revokeImportant for allowing users to disconnect and revoke access instantly.
5. Configure Test (Me) API
An endpoint to verify that the access token works.
Example:
/me,/account, or/user/profile.Useful for building the Connection Label and confirming authentication success.
6. Add Connection Label
A friendly name for the saved connection.
Example:
Jane’s CRM Account.Can be dynamically built using data from the Test API (like the user’s name or email).
7. Add URLs to Whitelist
Restrict calls to only the authorized API domains.
Helps prevent token misuse.
Only include what’s necessary for your integration.
8. Add Unique Authentication Identifier
A unique value from the authenticated account (e.g., user ID or email) to differentiate connections and prevent duplicates.
9. Set Request Parameters
Default parameters to include with every API request.
Example:
version=2.Avoid placing sensitive data here — credentials and tokens are handled securely by viaSocket.
Extra Best Practices
Avoid in Public Apps: This flow requires full trust between your app and the user.
Only for Legacy/Trusted Systems: Use OAuth Authorization Code flow for modern integrations.
Credential Storage: Always encrypt stored passwords; never log them.
MFA Considerations: If the account uses MFA, this flow may not work unless the provider supports passing OTP or other factors.

Register your application with the OAuth 2.0 authorization server to obtain a client ID and client Secret.