When you sign up, your first workspace is created automatically. However, if you need to create an additional workspace for a different team, project, or organization, follow the steps below.
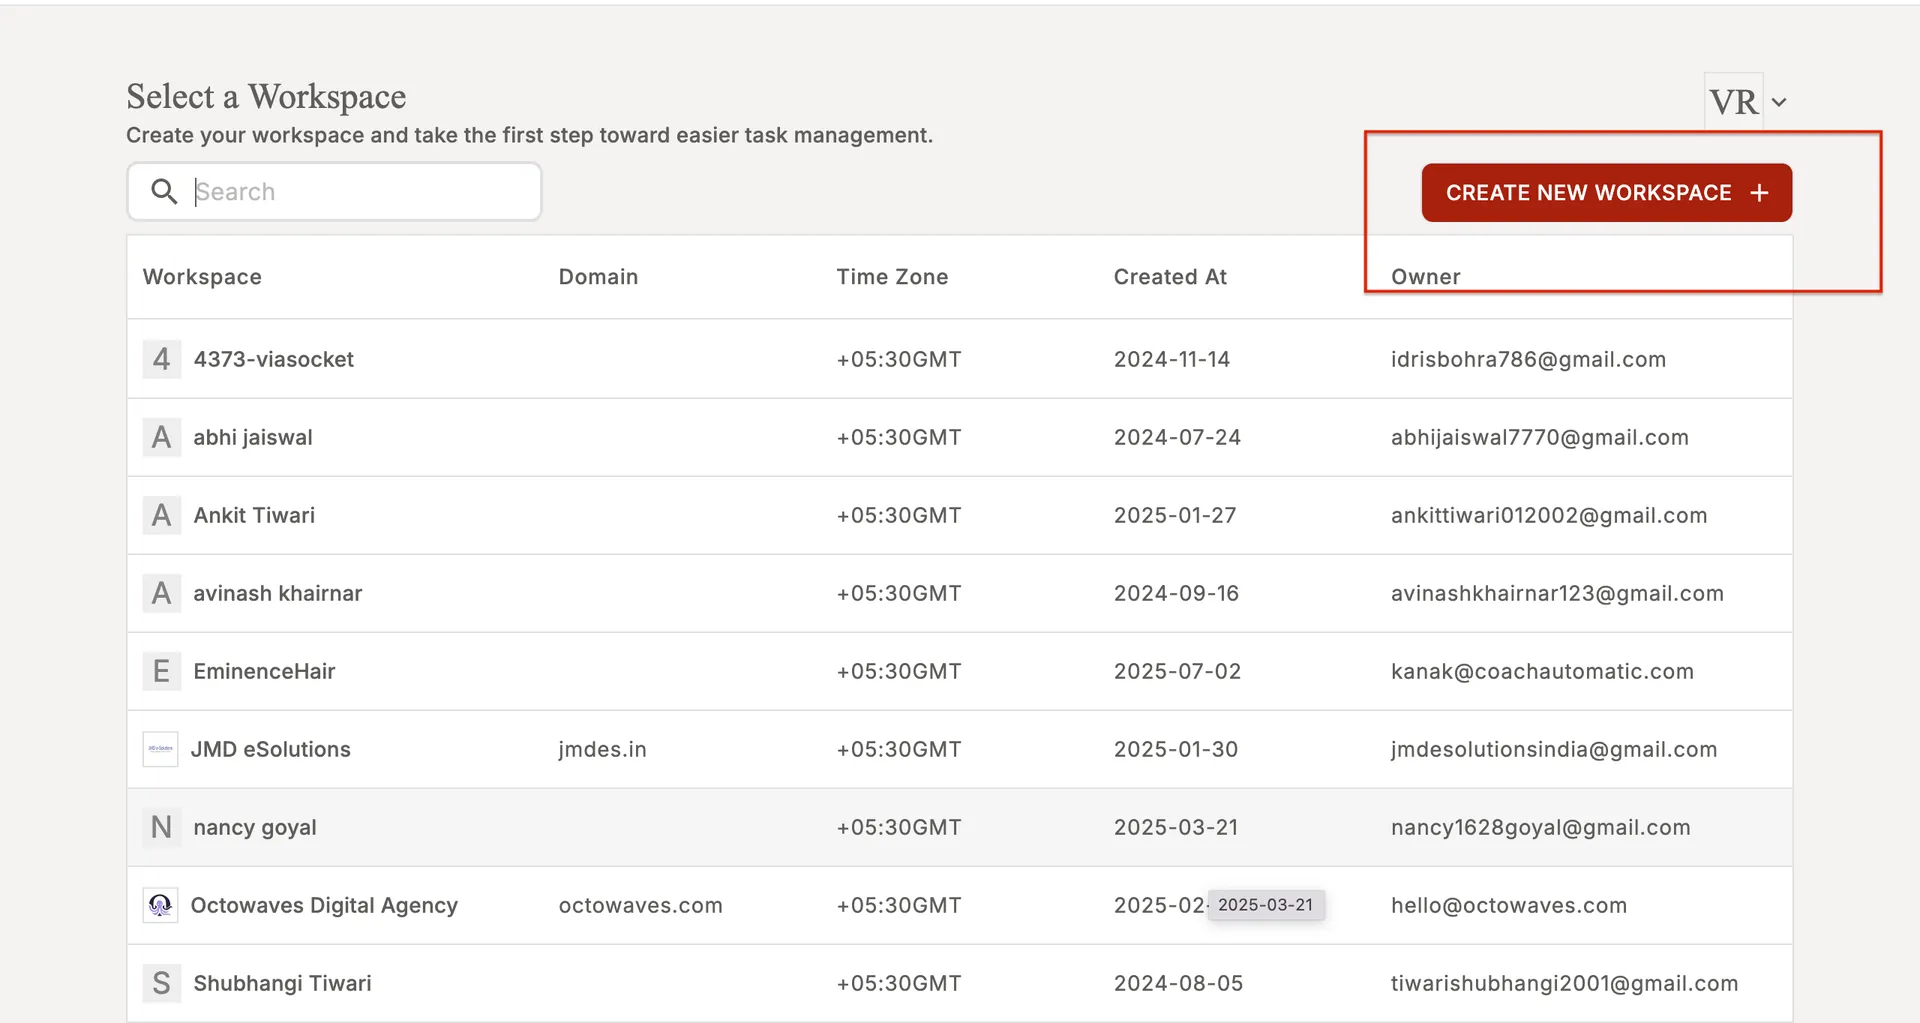
1. Go to the workspace menu
• Navigate to the top-right corner of your dashboard.
• Click on “Create New Workspace”.
2. Fill out the workspace details
A panel will open asking for the necessary information:
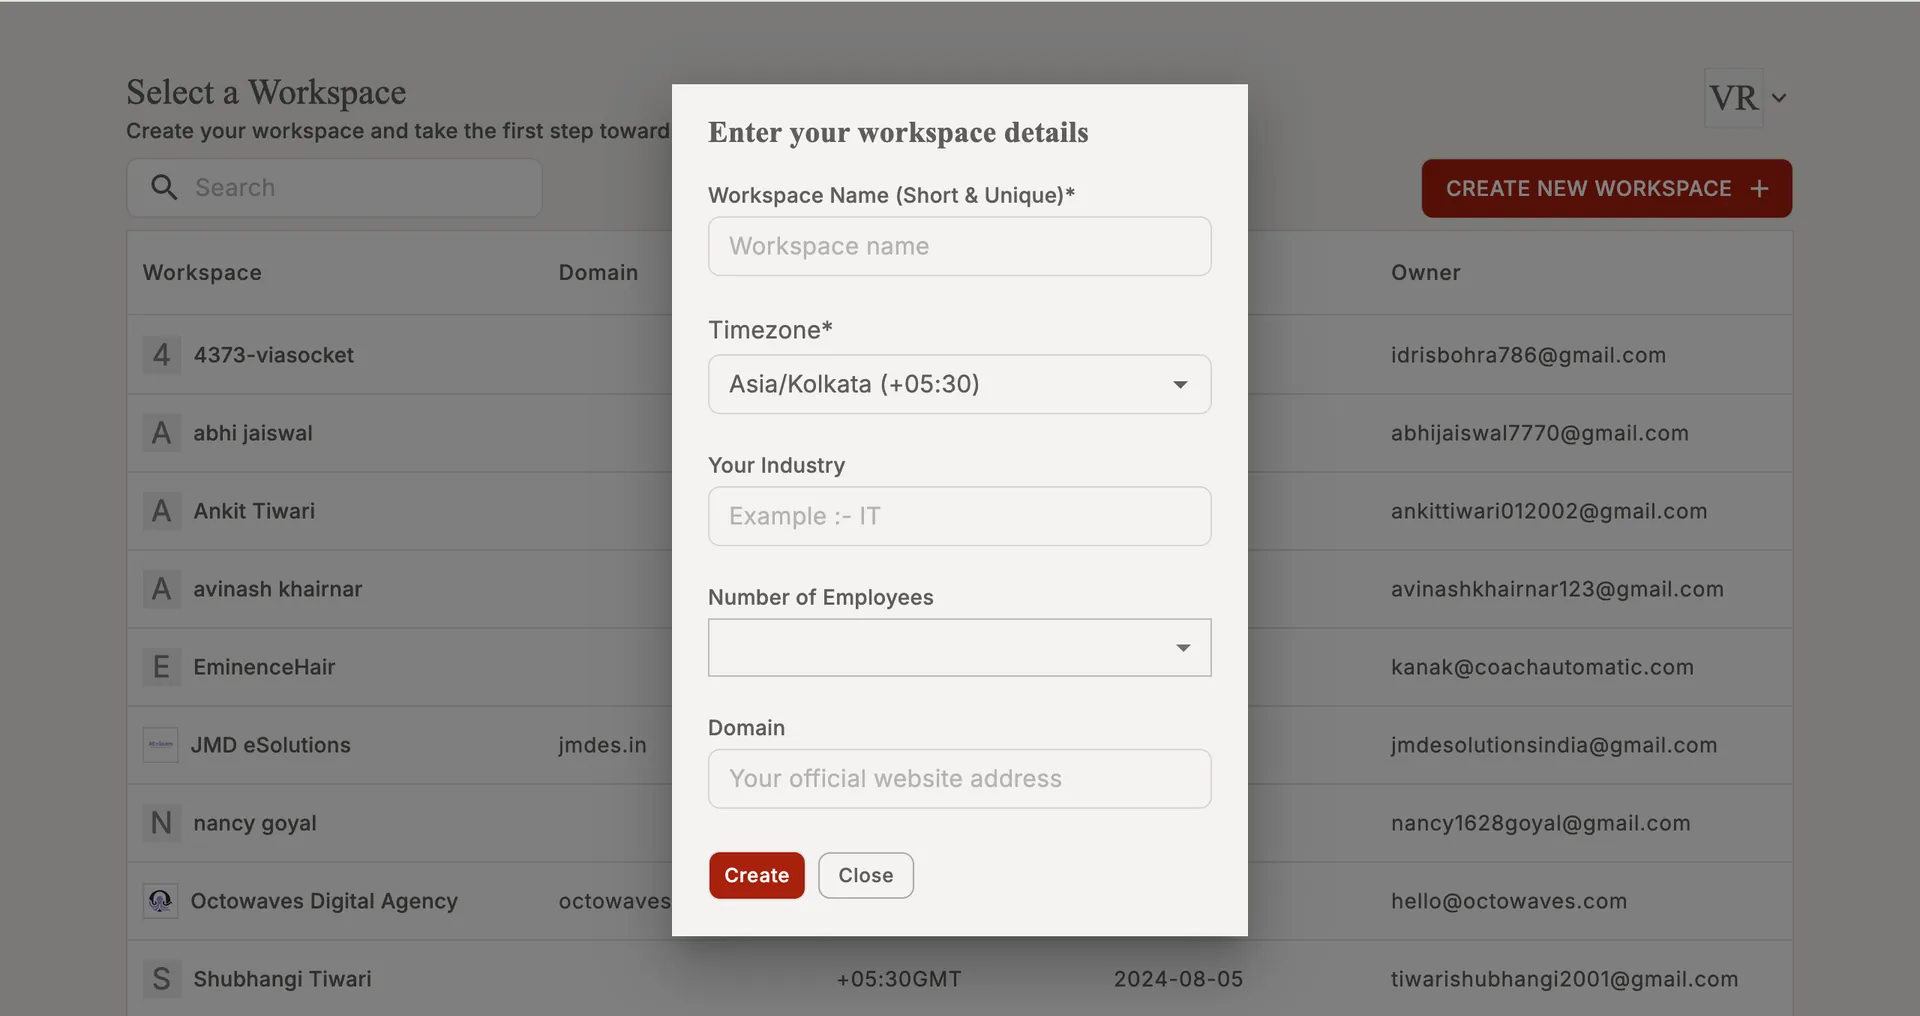
Workspace Name (Short & Unique)*
Enter a name that clearly identifies this workspace.
Note:
- The workspace name should not contain special symbols.
- Space not allowed.Timezone*
Choose the correct timezone for your team.Your Industry
Specify the industry you operate in (e.g., IT, Finance, Retail).Number of Employees
Select the team size from the dropdown.Domain
Add your organization’s official website URL (optional but recommended).
3. Create the workspace
Once all mandatory fields are completed, click “Create”.
Your new workspace will be set up instantly, and you can switch between workspaces anytime from the workspace menu.
Learn more about the workspace -
• Manage your workspace
• Invite team members to your workspace